Thursday, July 9, 2020
It's been so long....
Obviously I haven't done much on here in a long time. Life goes on. My newest adventure has been foundation paper piecing. If you'd like to check out some of my creations hop on over to BlueButterflyQuilter.blogspot.com
Tuesday, August 11, 2015
Closet turned reading nook
H has a very awkward closet in her room that I have struggled with for years. It is 28" wide and 34" deep with an offset 24" doorway. In one corner is a heat vent that goes into the room that was added onto the house long before we moved in.


Here you can see the vent with a shelf that was installed in one of my attempts at making this into a useful space.
So I came up with the idea of making this into a reading nook. H LOVES books and I want to do anything I can to encourage that love. We began by taking everything out of the closet and relocating those items (which mostly consisted of old toys, dress-up clothes and accessories).
I still want to have some storage available so my plan is to use 2 Closetmaid units with a platform built over them (but not supported by them). Curtains, cushions and some lighting and viola a reading nook. Ok, I'm getting ahead of myself here. We are on a tight budget so we've collected the pieces we needed over several weeks. First the storage units.


Both pieces are from the ClosetMaid White Laminate Stacking Storage collection. Bottom Unit
Top Unit
So we dry fit them into the space, hung some curtains to see how it looks and of course found a slight problems. An electric wire (live) running inside the closet. I really don't want to mess with electric and it's right in the way of my storage units :( It's just enough that the drawers won't open.

Hmmmm, going to have to think about this for awhile and find a solution.
Fast forward another couple of weeks. Our work around was to build a small platform which raises the storage pieces above the electric line. This adds about 4 1/2" to the overall height but I believe that was our best option. This puts our overall height at 32". For our platform we recycled the door that we took off of the closet since it was a nice sturdy piece of 3/4" wood (not plywood either, this was an old solid piece of wood!).

After cutting the pieces for the platform and all the support pieces we were ready to go (sorry didn't get any pictures). Since 2 out of the 3 walls are plaster we didn't want to attach supports directly to those walls. The 3rd wall (on the right) is wood so we attached a 2x4 cleat to that wall. The rest of our supports (3 of them) were made by cutting 'legs' 32 1/4" and attaching them to a 20" piece using 3" wood screws and wood glue (again using 2x4's). We also attached a small cleat to the inside of the door frame on the left.

Once all of the support pieces were in place and the platform was screwed down we set the storage units in place.

We weren't really happy with the lack of support in the front, just above the storage units. It really sagged when hubby climbed up. So we added another piece of board on top of the units for added support.

You can see the added piece here as hubby was taking a break. This will be covered up later with some trim.
Ok, now on to the fun stuff. Making it pretty and comfy!!!
H did not like the original pink curtains that I had previously hung. Instead she selected these shimmery pink and purple ones (because the wall on the left is an outside wall and is not well insulted I hung the pink insulted curtain behind the new ones, shhhhh she'll never know!).


So that's where we're at so far. It's alittle taller than I originally intended so she does need a step stool to climb up. With as fast as she is growing that is only temporary!! We still need to hang the light inside, add some trim and pick out fabric for the cushion. Overall I am very happy with our weekend progress!! I might just sneak in there for some quiet reading time myself!!!
Update: The light has been hung. I just took a light we already had, added some butterflies on fishing line (which were from her birthday party) and viola lighting!


Here you can see the vent with a shelf that was installed in one of my attempts at making this into a useful space.
So I came up with the idea of making this into a reading nook. H LOVES books and I want to do anything I can to encourage that love. We began by taking everything out of the closet and relocating those items (which mostly consisted of old toys, dress-up clothes and accessories).
I still want to have some storage available so my plan is to use 2 Closetmaid units with a platform built over them (but not supported by them). Curtains, cushions and some lighting and viola a reading nook. Ok, I'm getting ahead of myself here. We are on a tight budget so we've collected the pieces we needed over several weeks. First the storage units.

Momma's little helper!!

Both pieces are from the ClosetMaid White Laminate Stacking Storage collection. Bottom Unit
Top Unit
So we dry fit them into the space, hung some curtains to see how it looks and of course found a slight problems. An electric wire (live) running inside the closet. I really don't want to mess with electric and it's right in the way of my storage units :( It's just enough that the drawers won't open.

Hmmmm, going to have to think about this for awhile and find a solution.
Fast forward another couple of weeks. Our work around was to build a small platform which raises the storage pieces above the electric line. This adds about 4 1/2" to the overall height but I believe that was our best option. This puts our overall height at 32". For our platform we recycled the door that we took off of the closet since it was a nice sturdy piece of 3/4" wood (not plywood either, this was an old solid piece of wood!).

After cutting the pieces for the platform and all the support pieces we were ready to go (sorry didn't get any pictures). Since 2 out of the 3 walls are plaster we didn't want to attach supports directly to those walls. The 3rd wall (on the right) is wood so we attached a 2x4 cleat to that wall. The rest of our supports (3 of them) were made by cutting 'legs' 32 1/4" and attaching them to a 20" piece using 3" wood screws and wood glue (again using 2x4's). We also attached a small cleat to the inside of the door frame on the left.

Look closely and you can see the braces.
Once all of the support pieces were in place and the platform was screwed down we set the storage units in place.

We weren't really happy with the lack of support in the front, just above the storage units. It really sagged when hubby climbed up. So we added another piece of board on top of the units for added support.

You can see the added piece here as hubby was taking a break. This will be covered up later with some trim.
Ok, now on to the fun stuff. Making it pretty and comfy!!!
H did not like the original pink curtains that I had previously hung. Instead she selected these shimmery pink and purple ones (because the wall on the left is an outside wall and is not well insulted I hung the pink insulted curtain behind the new ones, shhhhh she'll never know!).

For now I just threw her old comforter in there as a cushion.


So that's where we're at so far. It's alittle taller than I originally intended so she does need a step stool to climb up. With as fast as she is growing that is only temporary!! We still need to hang the light inside, add some trim and pick out fabric for the cushion. Overall I am very happy with our weekend progress!! I might just sneak in there for some quiet reading time myself!!!
Update: The light has been hung. I just took a light we already had, added some butterflies on fishing line (which were from her birthday party) and viola lighting!


Now my original intention was to just have this sheer curtain at the opening. It would give some privacy but still let in light and air.

But Noooo H doesn't want it that way! Well, it's her room and her reading nook so the solid pink curtain went back up with the sheer over it.

We just need to find the right fabric for the cushion, add some trim and call it a day!! Baby steps, baby steps. :)
Monday, April 18, 2011
March for Babies 2011, Windy but successful
Due to all the rain we received on Saturday they had to shorten the route (the Rose Garden was flooded). So we only walked approx. 2.5 miles instead of 3.5 miles. The wind was horrible and made it feel so much colder than it really was. So glad the kids were bundled up and didn't seem to mind it.
It always feels so good joining hundred of people for such a wonderful cause! I hope Hannah will continue to walk with me even when she's older and I can't make her go :D

Hannah after the walk, enjoying some cookies and juice.
 Our walking buddies. This is our 4th year walking together.
 All that fresh air really tired her out!! Sheesh, you'd think she actually did the walking LOL. She had fun so that's all that mattered!!
It always feels so good joining hundred of people for such a wonderful cause! I hope Hannah will continue to walk with me even when she's older and I can't make her go :D

Hannah after the walk, enjoying some cookies and juice.


Wednesday, April 6, 2011
A Game born of desperation! Ball Toss
So we've all been down with a version of this cold / cough. Thankfully the little one has only had a runny nose and cough. I on the other hand got every possible version of it. Fever, cough, the whole nine yards!! So in my desperate attempt to keep H occupied so I could get some kind of rest this is what we got.
 Instant ball toss game! Cost - Free! Empty diaper box, some tape and miscellaneous small balls. And H LOVES it. I will need to go back and reinforce it with better tape. All that I could find handy was scotch tape. I was also thinking of covering it with some left over gift wrap or something. But really she doesn't care, she loves it just the way it is! Isn't that the wonderful thing about kids?!
 Here's a side view.
 Here it is in action. All of the 'balls' aren't even balls, one of them is a green apple from her kitchen set! But it works just fine and she doesn't care so why should I!


Tuesday, March 29, 2011
Spring Flowers
So Mother Nature decided to tease us with one gorgeous day and then slap us with below normal temperatures! She can be so cruel!! So I decided to get alittle flower garden started inside. We started this last week and we've already got very nice progress.
We started with 2 little egg 'pots' that we found in the $1 section at Target. One had Daisy seeds and the other had Zinnias. The instructions tell you to only put 10 seeds in each pot so we spread the rest of the seeds into cups.
 H didn't care for getting dirty much but she did like watering the seeds. Once we were all planted everything got put into the sunny kitchen window.


We started with 2 little egg 'pots' that we found in the $1 section at Target. One had Daisy seeds and the other had Zinnias. The instructions tell you to only put 10 seeds in each pot so we spread the rest of the seeds into cups.


I've done most of the watering but every couple of days I have H use her little water pitcher to water them. She was amazed when they started sprouting.

After only one week the Zinnias are going crazy! The Daisies (middle cup) are alittle slower but they're starting to pop up too now. It's hard to see the Daisies but if you look really close you can see tiny leaves popping up.

Here they are after 16 days. They're going to be ready for transplanting soon!!
Friday, March 25, 2011
Paint with water
I remember the paint with water books when I was little. I LOVED them! What I love even better is today's reusable version, Water WOW! by Giddy-Up. H has the Giddy-up Princess Water Wow Book Activity Book
and the Dora Water Wow Doodle Book (Dora the Explorer-Nickelodeon)
H is kind of heavy handed with the 'brush' the first time we tried it which resulted in the coating on the pages getting scratched alittle bit. Instead we use a sponge brush now which works beautifully.
H loves 'painting' each page and seeing what's hidden. Each page has activities like counting the fish or find 3 circles which makes it educational as well. The only down side is that each book only has like 5 pages. Still H loves them and I love that their reusable!!

Bunnies, bunnies, everywhere bunnies!!!

When H saw the pages I printed out laying on the table in preparation for this weekends crafting she immediately wanted to 'do project'. I didn't have all of the things I needed to complete the windsock I had planned on making so I changed gears alittle bit.
Daddy grabbed some paper plates and the glue stick while I cut out the bunny pieces as quickly as I could. Gluing is her favorite thing right now so this was a big hit. We love the Crayola 2ct .29oz Glue Sticks
I punched a hole in the top of each, strung some fishing line threw it. Now their ready to be hung up. At this rate I won't need to get any of the Easter decorations out of the attic, H will have the whole house decorated in no time!


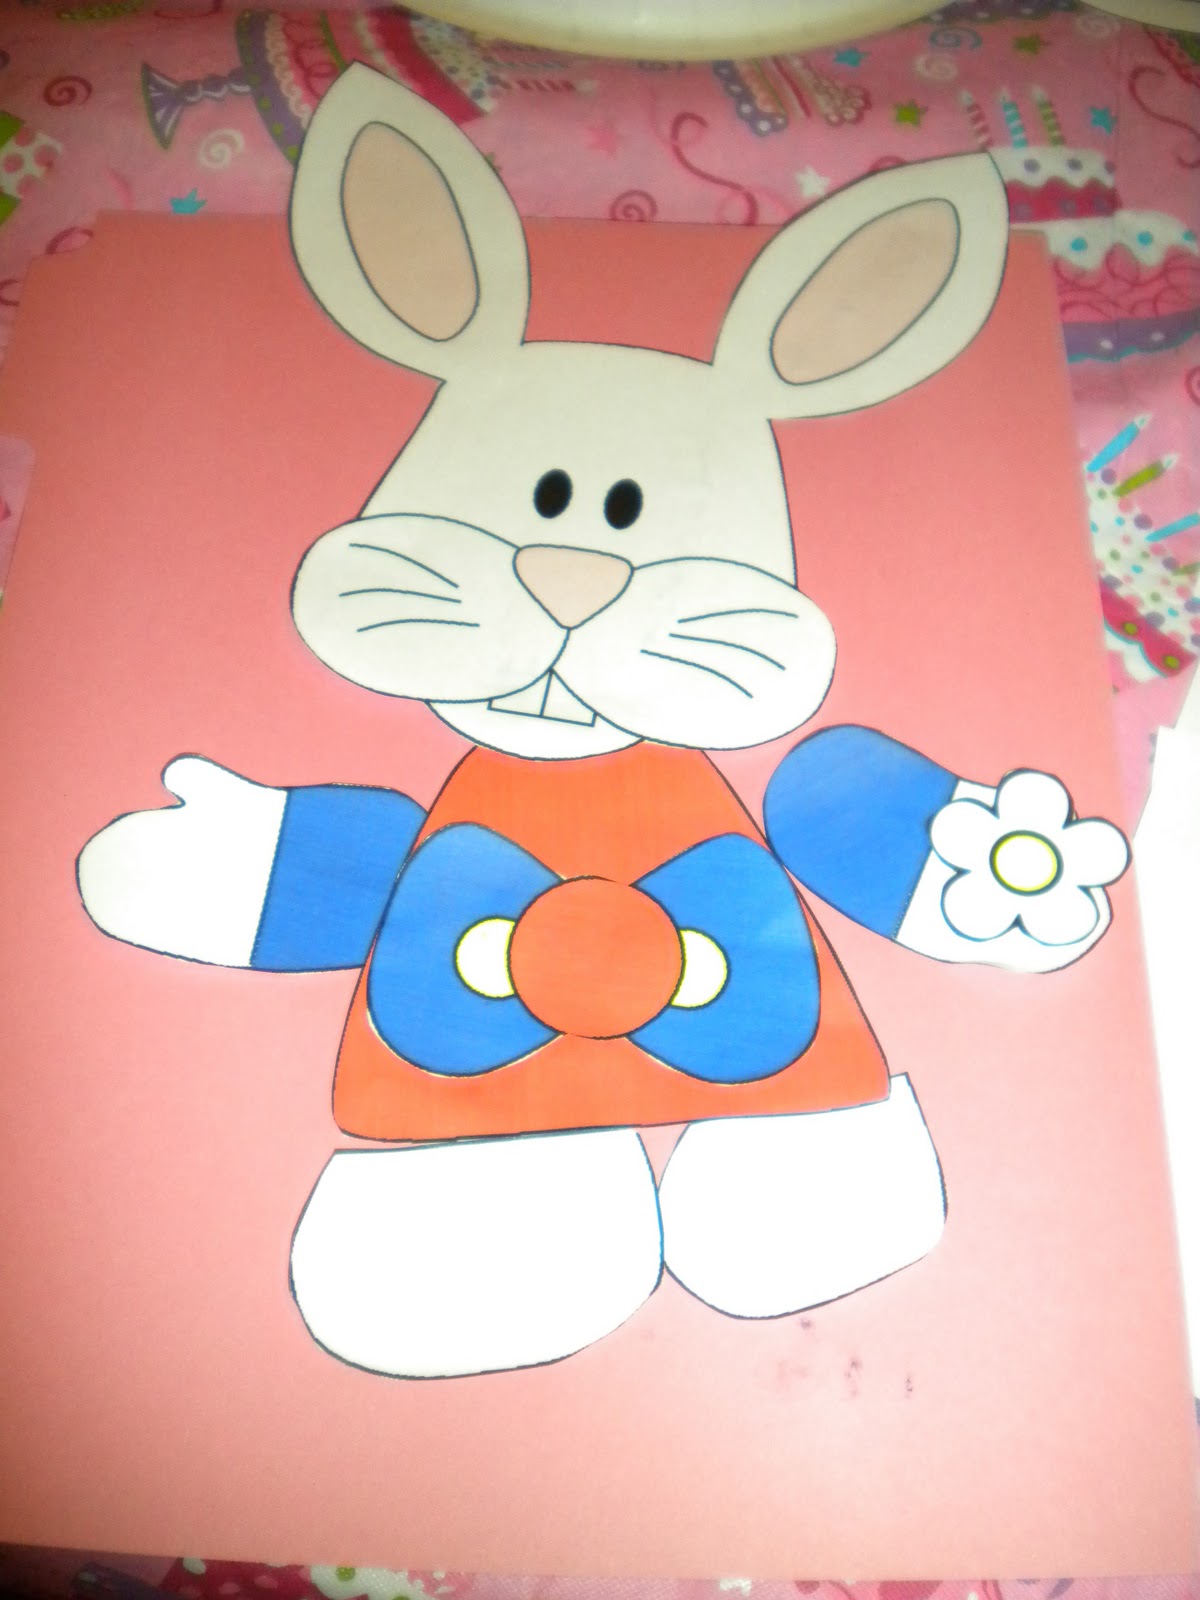
Find these and more printables over at http://www.dltk-kids.com/
Here's a direct link to the bunnies http://www.dltk-kids.com/animals/bunny/index.htm
Subscribe to:
Posts (Atom)